Recording and editing audio for free is easy, using a piece of software called Audacity. This is a complete guide for beginners looking to get started with this powerful tool.
Audacity is a free, open-source, cross-platform audio software for multi-track recording and editing. It's available for Windows, Mac, and even Linux systems, making it accessible to almost everyone. Whether you're recording music, podcasts, voiceovers, or just need to edit an audio file, Audacity provides a comprehensive set of tools without the hefty price tag of professional DAWs (Digital Audio Workstations).
Key Features
Multi-track Recording & Editing
Record live audio through a microphone or mixer, or digitize recordings from other media. You can easily edit your tracks, cutting, copying, splicing, or mixing sounds together.
Import/Export Flexibility
Import sound files, edit them, and combine them with other files or new recordings. Export your recordings in many different file formats, including multiple files at once.
Effects Suite
A large range of built-in effects is included, such as Noise Reduction, EQ, Compression, Normalize, Fades, Reverb, and more. Audacity also supports VST, VST3, AU, LADSPA, and LV2 plug-ins to expand its capabilities.
Audio Analysis
Includes tools for analyzing audio frequencies, such as Spectrogram view mode for visualizing and selecting frequencies.
Pros and Cons
Pros 👍
- Completely free and open-source.
- Cross-platform availability (Windows, macOS, Linux).
- Supports multi-track recording and editing.
- Wide range of built-in effects and support for external plugins.
- Relatively easy to learn for basic tasks.
- Strong community support.
Cons 👎
- The user interface can look a bit dated compared to modern DAWs.
- Destructive editing by default (though workarounds exist).
- Can sometimes be less stable with very complex projects or certain plugins.
Getting Started
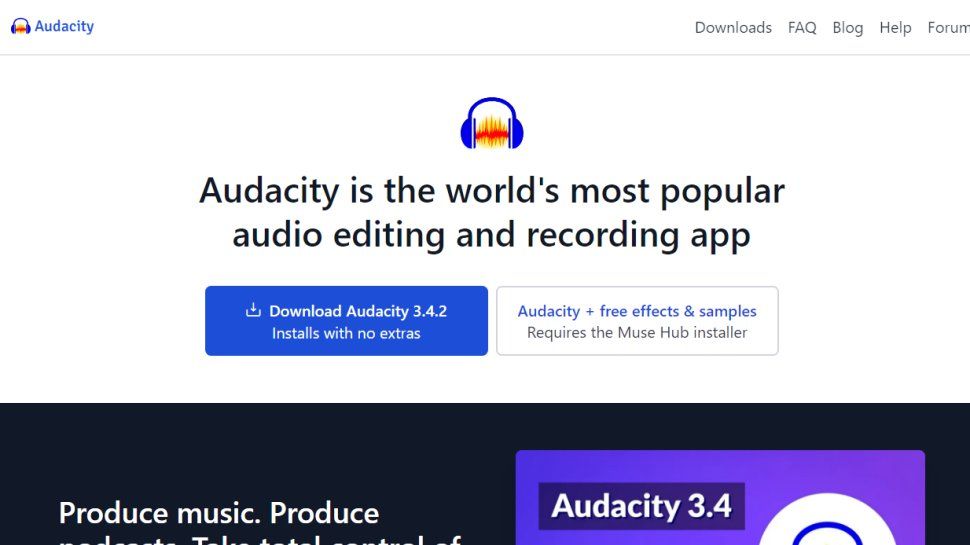
Let's get started by downloading the Audacity app. You just need to go to the official Audacity website. On the website, click the big Download Audacity button. Once you've done that and installed it, you can head over to Audacity. This is how it looks when you load it up. The first thing you want to take a look at is the Audio Setup. Here, you can choose your playback device (e.g., headphones, speakers, audio interface) and recording device (select your microphone – internal mic, USB mic, or interface input). For an advanced tip, go to the recording channels and select the specific channel for your microphone (often mono) or instrument (potentially stereo).
Basic Recording and Playback
Once your setup is configured, you can hit the record button and test levels. Speak into your microphone ("Hello, this is a test recording for Audacity"). You can see the input levels appearing next to the microphone icon. Aim for a reasonable volume level, typically peaking around -12dB to -6dB to avoid clipping. If it's too loud or quiet, adjust the recording level slider. To listen back, hit the Stop button, then the Play button or click on the timeline where you want to start. The playback level slider controls the volume through your chosen playback device.
Editing and Mixing
Audacity makes editing straightforward. You can zoom in (+) and out (-) using the toolbar buttons or zoom to a specific selection. To remove a section, simply select it with the mouse and press the Delete key. If you want to split a clip without deleting, select the point and use Edit > Clip Boundaries > Split (or Ctrl+I / Cmd+I). This allows you to move sections independently. You can also import other audio files, like background music, via File > Import > Audio. When mixing, the Envelope Tool is invaluable for adjusting volume over time, allowing you to fade music in or out, or lower it under speech (ducking). You can mute or solo tracks to focus on specific parts of your mix.
Improving Your Audio
To make your recordings sound better, Audacity offers several effects. A common first step is Effect > Volume and Compression > Normalize to set the peak amplitude (e.g., -1 dB) for consistent loudness. To clean up the sound and enhance clarity, use the EQ. Go to Effect > EQ and Filters > Filter Curve EQ. You can roll off low-end rumble (below 80-100Hz for voice) and add a high-end boost for presence. For a more consistent volume level, apply compression using Effect > Volume and Compression > Compressor. Start with basic settings (like a threshold around -18dB to -22dB, ratio 3:1) to even out dynamics.
Saving Your Work
It's crucial to understand the difference between saving a project and exporting audio. File > Save Project As saves an Audacity project file (.aup3). This preserves all your tracks, edits, and settings, allowing you to re-open and continue working later. It is not a standard audio file. To create a shareable audio file (like MP3 for web or WAV for high quality), go to File > Export > Export as MP3 or Export as WAV. This mixes all audible tracks down into a single stereo or mono file.
Where to Download
Audacity is completely free to download and use. You can get the latest version for Windows, macOS, or Linux directly from the official source.
